Gran Fondo Race Day Tactics: Pacing, Position, Final Hour
12 November 2026
How to Choose a Gran Fondo Coach, Not Just an App Plan
16 November 2026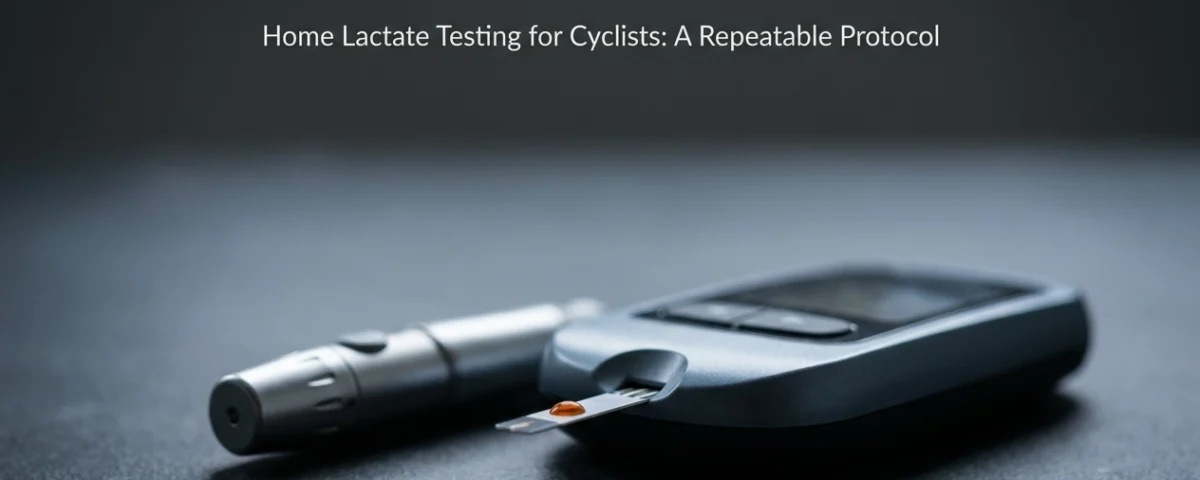
AI-generated header image for: Home Lactate Testing for Cyclists: A Repeatable Protocol
Blood lactate data from a home meter is only as good as the protocol behind it. For advanced cyclists, lactate testing for athletes is not a one-off curiosity; it is a way to map the first and second lactate thresholds, where lactate first rises and then accumulates. A more expensive analyzer will not rescue a sloppy warm-up, inconsistent step length, late sample, or mishandled strip. Reproducibility comes from a fixed routine: standardized steps and fixed sampling windows make curves comparable week to week, which is what allows remote profiling and a meaningful six-week re-test.
This guide treats warm-up, step length, sampling timing and strip handling as the method, not the afterthought. You will learn what blood lactate testing measures, what a home meter can and cannot do, how to choose one, and what belongs in a kit. Then you will lock the prerequisites and execute five control points: warm-up, step length and increment, sampling window, strip and sample handling, and test conditions. We cover reading LT1, LT2 and week-to-week changes, the six-week re-test, common errors that wreck reproducibility, your protocol sheet, FAQs, and how to turn the protocol into a program. For a plan, book a Cycling Breakthrough Call: https://waytochamp.com/schedule.
What Blood Lactate Testing Actually Measures (and Why Cyclists Use It)
Lactate is a fuel and signaling molecule made at every intensity, not a waste product. Meters read mmol/L. LT1 is the first sustained rise above baseline: fat oxidation dominates, talking still works. LT2 is the steeper breakpoint, near maximal lactate steady state (MLSS) and roughly your one-hour power.
FTP is one number from one protocol, and it can stall (the FTP plateau problem). A curve shows where fuel use shifts, how steeply it climbs, and your glycolytic capacity (VLamax). Portable analyzers moved lactate testing for athletes out of the lab; a 2026 Sports Medicine – Open review assessed validity and reliability with COSMIN and GRADE (Bruno et al.). Value lies in your own trend, not another lab’s number.
What a Home Lactate Meter Can and Cannot Do
A handheld meter reads blood lactate in mmol/L from a small capillary sample in about a minute. It does not build a curve, set your step length, or time your samples. The number is only as good as the protocol around it.
No source compares a home protocol with a lab reference or INSCYD profile; the evidence covers device-to-device agreement only. In Arratibel-Imaz et al. (2017), two LactatePro models were compared across 34 volunteers (3 cyclists, 17 rowers, 10 long-distance runners, and 4 mountain runners), with overall correlation r = 0.991 and mean concordance of 0.31 mmol/L. If two devices differ by tenths of a mmol/L, a 0.3 mmol/L shift in your curve may be noise, not adaptation. Hence the fixed routine.
What Actually Matters When Choosing a Meter
Treat the best lactate meter question as selection criteria, not a ranking. This is not a buyer’s guide.
Repeatability matters most where you actually test. The Arratibel-Imaz et al. (2017) data show concordance widening in higher lactate bands, so consistency in the range relevant to threshold work is what your curve depends on.
Then weigh the practical variables: a smaller sample volume fills in one clean action, and staying on a single strip lot avoids adding a new variable mid-block. Budget cost per test plus strip availability across a baseline test, a six-week re-test and four- to six-weekly re-tests.
Check memory and export, stated operating temperature range, control solutions, and whether the manufacturer publishes agreement or comparison data at all.
Way2Champ ships a lactate meter inside its 6-month premium coaching program, so device and protocol arrive together.
What’s in a Home Lactate Testing Kit
Once the meter is chosen, assemble the rest of the kit before the baseline test:
- Meter plus a fresh, in-date strip lot; record the lot number before the block starts and stay on that lot.
- Lancet device, single-use lancets, alcohol swabs, and a plan for safe sharps disposal.
- Gauze or cotton pads for wiping away the first drop, plus a visible timer so the sampling window is measured, not estimated.
- One protocol sheet or spreadsheet, identical every test: step number, target watts, actual watts, cadence, RPE, sample time, lactate.
Useful additions: control solution, spare batteries, a fan and a thermometer to hold conditions constant, and a repeatable setting such as a trainer or a flat loop.
Capillary sampling here is method inside a coach-supervised program, performed following the meter manufacturer’s instructions. It is not medical or self-diagnostic advice.
Prerequisites: Timing, Fuelling and the 24 Hours Before
Now control the variables that move lactate independently of fitness.
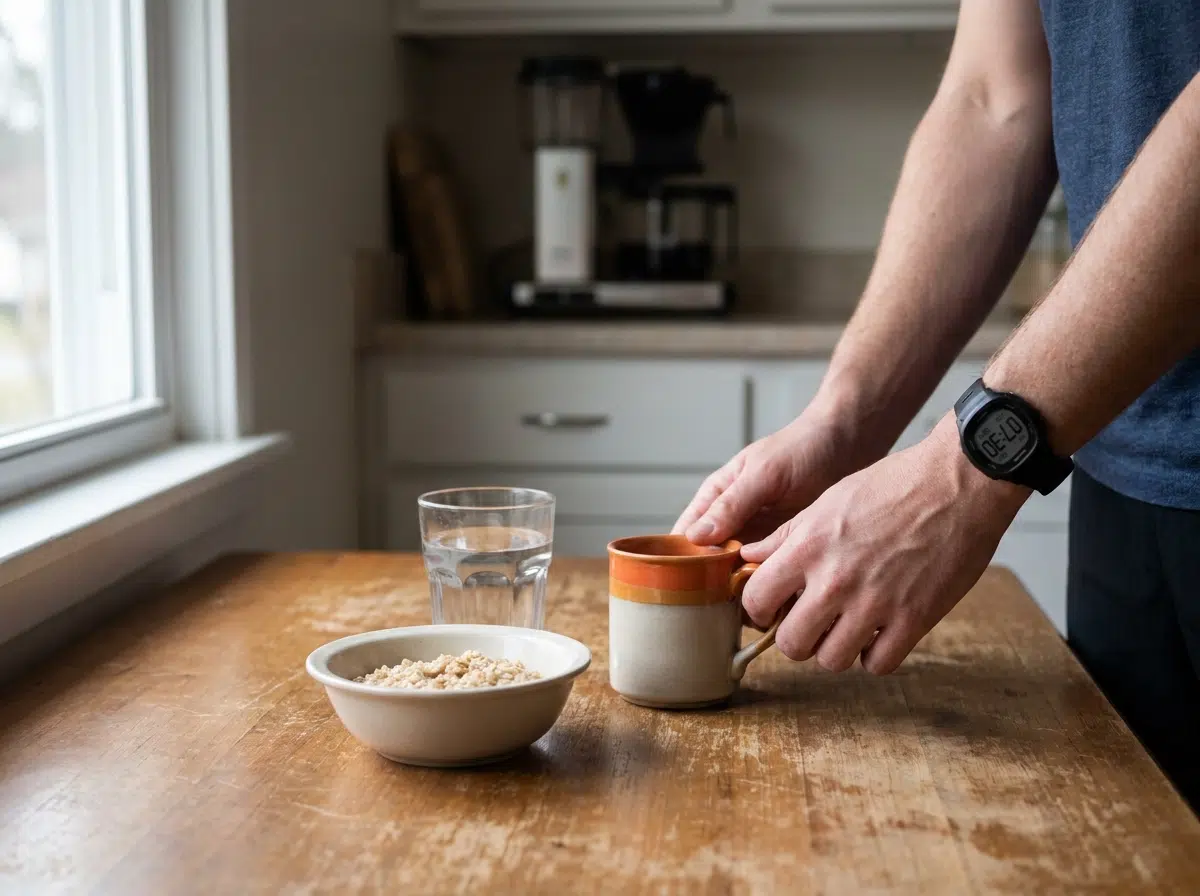
Test the same day, same time each week: diurnal rhythm, meal timing and caffeine all shift lactate at a fixed wattage. Keep pre-test food and caffeine identical to a normal training day. Do not fast, do not load up, and leave two hours after a large meal.
No hard session or long ride in the prior 24 to 48 hours; residual fatigue can distort lactate readings.
Arrive normally hydrated. Avoid extreme ambient temperatures; heat can alter lactate readings at a given wattage, so hold room conditions constant, and a very cold room can affect pedalling mechanics.
Fix the setup: same bike, trainer or road loop, fan setting and cadence target, ideally 85 to 95 rpm indoors.
Step 1: Lock the Warm-Up
With conditions fixed, the warm-up becomes the first controlled variable. In Way2Champ’s standardized protocol (a coach’s procedure, not a research finding): hold 15 to 20 minutes easy plus a short structured priming block, and write the total minutes on your sheet so it repeats exactly. Keep intensity below LT1 so you do not pre-accumulate lactate before step one. If your plan includes short 30-second efforts with full recovery, keep their number, duration and recovery identical between tests; they change the first data point. Improvise a longer or harder warm-up and the entire curve shifts upward, making week-to-week comparison meaningless even when training has not changed.
Step 2: Fix the Step Length and Increment
With the warm-up locked, fix the ramp itself. Use 3-minute steps, as in the Arratibel-Imaz et al. (2017) incremental protocol: long enough for lactate to move toward the new workload, short enough to keep the test near 45 minutes.
Choose an increment that gives enough data points to define both breakpoints, the exact value depends on your fitness range. Start well below LT1 and hold cadence constant; cadence shifts fiber recruitment and lactate.
Record actual 60-second average power, not the target. Define a stopping criterion before the test and apply it identically every time, for example a predetermined maximum wattage or a cadence band lost. Sampling timing comes next.
Step 3: Use the Same Sampling Window Every Time
Sampling timing is the next fixed variable. Draw the sample within 10 seconds of each step ending, the window used in the Arratibel-Imaz et al. (2017) protocol, and take it before you drop power or stop pedaling. If you must stop, write it on the sheet: you have just changed the method.
Keep the same finger, warm the hand, wipe the first drop with gauze, then fill the strip with the second drop in one motion. One sample per step unless the meter errors; log the error and the repeat, never delete the inconvenient point. Timestamp each sample. A window that slips from 10 seconds early to 60 seconds late turns your curve into a different test.
Step 4: Handle Strips and Samples the Same Way
Strip handling completes the method. Store strips sealed in the original vial at room temperature. Heat exposure is a known risk factor for strip degradation; store strips sealed at room temperature away from direct heat. Record the expiry date and lot number before the block starts, then use that lot throughout the comparison period.
Do not touch the test area of the strip or underfill it. Follow the manufacturer’s fill instructions; an improperly filled strip may produce an unreliable reading. Clean and fully dry the finger, let alcohol evaporate before lancing, and avoid squeezing tissue fluid into the sample.
Same meter, same strip lot, same operator for the block. If the person holding the lancet changes, treat that test as a new baseline, not a comparison point.
Step 5: Hold the Test Conditions Constant
Strips and sampling are fixed. The remaining variables are environmental. Temperature can affect lactate readings at a fixed wattage; keep room conditions and fan setting identical and log them on the sheet, for example 68 F [20 C], fan on setting 2. Choose trainer or road and never mix modes inside one comparison block: steady ERG or manual target indoors, a flat repeatable loop outdoors. Hold one cadence band, 85 to 95 rpm, across every step and every test. Log time of day, caffeine, hydration, sleep and recent training load each time. If something changes unavoidably, record it and flag that point as lower confidence.
Reading the Curve: LT1, LT2 and What Changes Week to Week
With conditions locked, the curve becomes readable. LT1 marks where fat oxidation still dominates; LT2 is the steeper breakpoint near MLSS and one-hour power. Your VLamax, maximum glycolytic rate, sets how steeply the curve climbs after LT1 and how much carbohydrate you burn at race pace.
Between tests, three things move: watts at LT1, watts at LT2, and the slope between them. The protocol must not. Compare power at fixed anchors, 2.0 and 4.0 mmol/L, not a single threshold number; anchors make curves comparable.
The Six-Week Re-Test
Run the baseline, re-test at six weeks, then every four to six weeks through the block, always at the same time of day under the same conditions.
Compare only power at LT1, power at LT2, and the curve shape between them. Everything else is context.
Differences of roughly 0.3 mmol/L or less at a given wattage may reflect device agreement rather than adaptation, a reasonable inference from the overall mean concordance in Arratibel-Imaz et al. (2017), not a verified threshold.
Use the re-test to move zones. If LT1 rises, endurance work moves up with it. That is the point of testing at home.
Common Errors That Wreck Reproducibility
Consistency is the whole game, and these are the ways it breaks:
- Improvised warm-ups, or a hard ride in the 24 hours before, can alter lactate readings independently of fitness changes.
- Variable step length changes where the curve appears to break, keep it fixed to every test.
- Sampling outside the fixed window, or after power has already dropped.
- Underfilled or expired strips, or strips stored away from temperature-controlled conditions.
- Unrecorded changes in cadence, fan setting, time of day, or the person taking the sample.
- Chasing a better meter instead of fixing the method. No device repairs a drifting protocol, and the protocol is what your data depends on.
Log every deviation. An unrecorded change is indistinguishable from adaptation.
Your Protocol Sheet, Filled In
Fix the method on paper and the errors above stop recurring. Every test opens with a conditions block: date, time, room temperature, fan setting, strip lot, meter serial, sleep, fuelling.
| Step | Duration | Target W | Actual W | Cadence | RPE | Sample | Lactate | Notes |
|---|---|---|---|---|---|---|---|---|
| Warm-up | 20 min | 55% FTP | 90 rpm | 3 | ||||
| 1 | 3 min | 150 | 90 rpm | 10 s | logged | |||
| 2 | 3 min | 175 | 90 rpm | 10 s | ||||
| 3 | 3 min | 200 | 90 rpm | 10 s |
Layout illustration, not real athlete data.
Reuse the identical sheet every test: aligned columns let three or four tests read side by side without reinterpretation. One sheet, one device, one routine is what makes remote review of your curve and a meaningful six-week re-test possible.
Frequently Asked Questions
How accurate is a home lactate meter?
Two LactatePro models agreed at r = 0.991, mean concordance 0.31 mmol/L across 34 volunteers (Arratibel-Imaz et al., 2017). No source here compares a home protocol with a lab reference.
Which meter is best?
No ranking. Judge repeatability at 1 to 8 mmol/L, sample volume, strip lot consistency, agreement data and cost per test.
Trainer or outdoors?
Yes, and a trainer repeats more easily. Never mix the two inside one comparison block.
How often do I re-test?
Baseline, six weeks, then every four to six weeks, conditions held constant.
Do I need a coach?
No; the protocol is executable alone. Interpretation, zone setting and plan adjustment are where profiling and 1:1 coaching add value, the basis of Way2Champ’s 6-month premium program.
Turn the Protocol Into a Program
Lock the day, the time and the sheet, and your curve becomes a trend you can steer.
Pick a fixed day and time, write the protocol on one sheet, run the baseline test, re-test at six weeks, and compare only power at LT1 and power at LT2.
Way2Champ’s 6-month premium program includes metabolic profiling, 1:1 remote coaching, and a guarantee of at least +30 W FTP in 6 months if you complete at least 80 percent of prescribed sessions. A maximum of 4 new athletes are taken on per month. Book a Cycling Breakthrough Call at https://waytochamp.com/schedule.

Conclusion
The whole method rests on one sheet, one device, and one routine, consistent timing, warm-up, and sampling that turns single data points into a steerable trend.
To act on that trend, book a Cycling Breakthrough Call at https://waytochamp.com/schedule.